
Customizing editGPT Buttons
As an editor, you often need tools that simplify and speed up your workflow without compromising your work’s quality. editGPT—an AI-powered text editing tool—offers customizable buttons that you can tailor to your specific needs. Custom buttons in editGPT allow you to automate repetitive tasks, ensure consistency, and improve efficiency.
In this blog post, I’ll guide you on creating and using custom buttons in editGPT to enhance your editing process. (Note: You need to use the paid version of editGPT to create and save custom buttons. As of this writing, you can get the Pro plan for $10 a month.)
Step-by-Step Guide to Creating Custom Buttons
editGPT comes with handy prepopulated buttons to choose from based on your needs. For instance, if you just want to fix grammar mistakes, you can select the Grammar button (see the buttons in the screenshot below).
But maybe you’re working on an article from an academic writer who needs it revised for a general audience and that writer tends to use a lot of passive sentences (I’m sure some of us can relate to that!). You can create your own “revise to active sentence” button by following these simple steps.
Let’s begin by looking at a new document in editGPT:
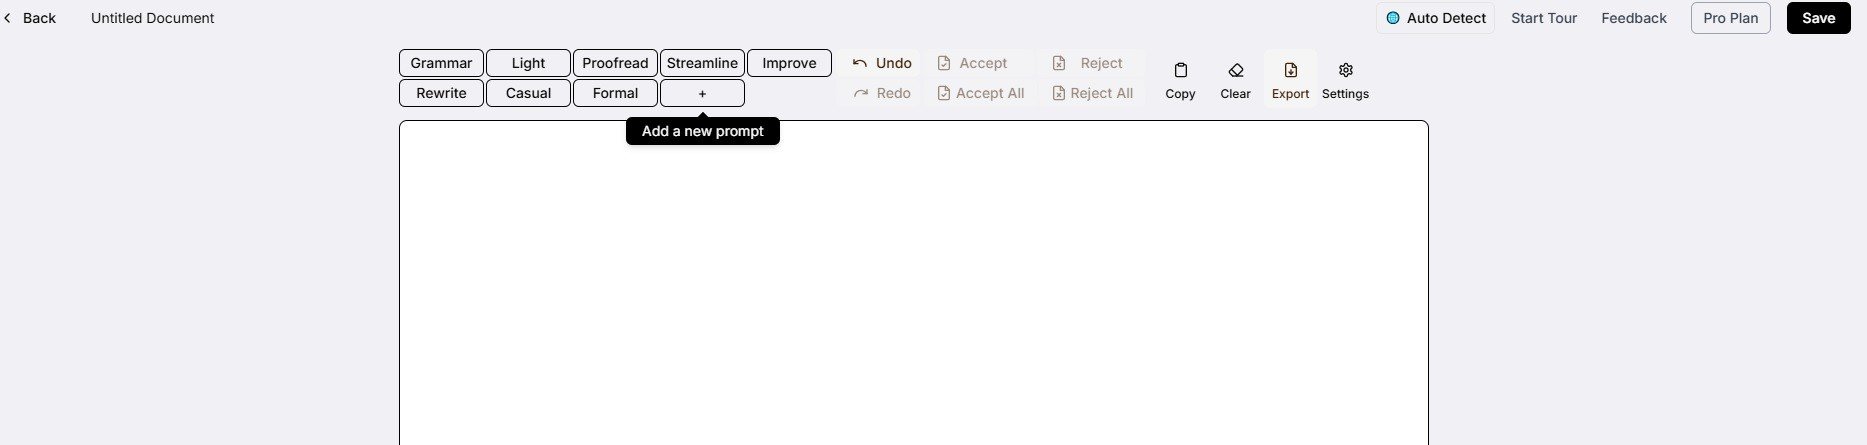
Opening a New Document in editGPT
First, select the + button as shown in this screenshot:
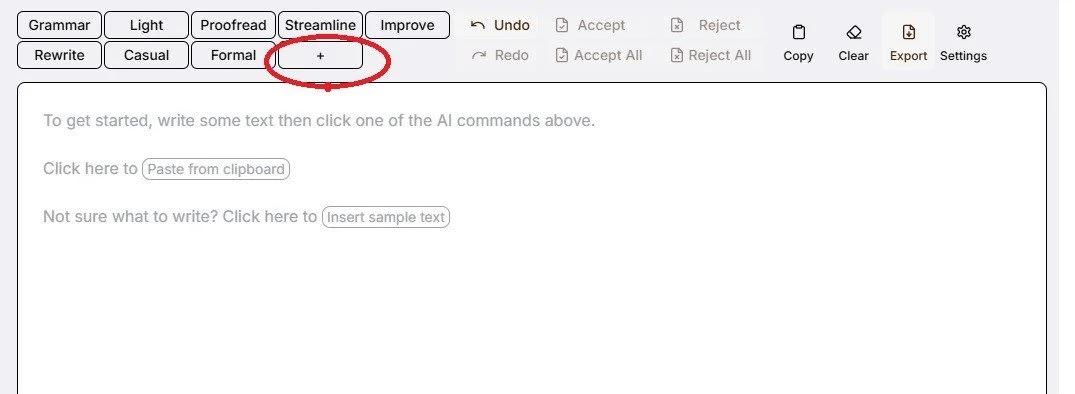
Selecting the + Button
You’ll then see the following screenshot. Scroll down the Selected Prompts on the right-hand side and select the + Add Custom Prompt button:
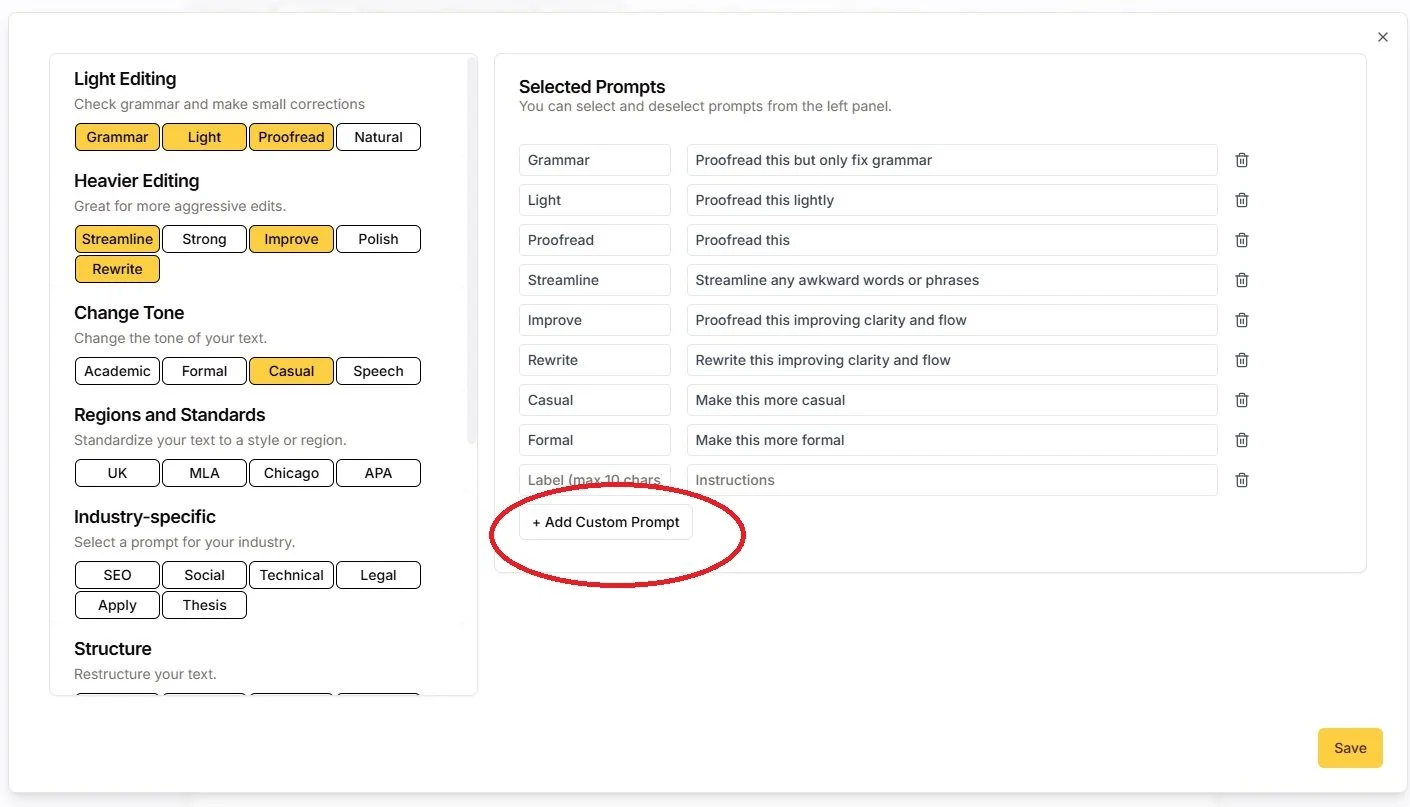
Selecting the + Add Custom Prompt
Next, write your prompt. As shown in the screenshot below, I created a button called Active and wrote a prompt for changing passive sentences to active ones. Don’t forget to SAVE your button! (As you can surmise, that’s something I often forget.)
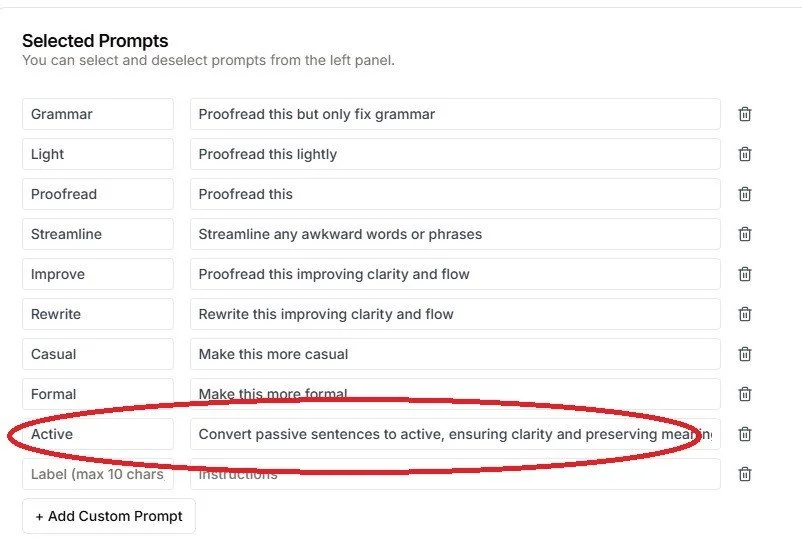
Writing Your Prompt
Paste in your text, select your new button to test it out, and then debug as necessary. In the following screenshot, I pasted in a paragraph about Jimmy Carter that had many passive sentences and then selected the Active button:
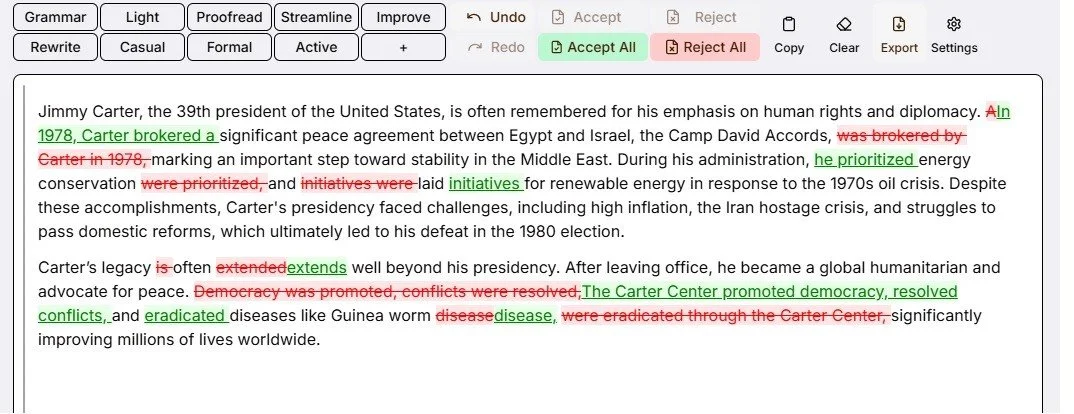
The Custom Button in Action
As you can see, editGPT swiftly converted passive sentences to active ones (in less than a second).
Some things to keep in mind when creating custom buttons:
Focus on frequent tasks: Start with functions you use most often to save the most time.
Keep commands specific: Avoid creating buttons with overly broad functions to prevent unintended edits.
Iterate based on usage: Regularly review and refine your buttons to align with your evolving workflows.
Customized editGPT buttons are just another AI tool for editors looking to streamline their workflow. By tailoring these tools to your needs, you can save time, improve consistency, and deliver even better results for your clients. If you’ve created your own custom buttons, I’d love to hear about them!
If you enjoyed this post, consider signing up for my blog (see the Editing with AI subscriber bar at the bottom of the page). You’ll be notified when the next post is up and of tips and classes I think are useful. I promise to never misuse your information.